Automated branding is the use of software to create, manage, and distribute your brand elements with minimal manual effort. In short, you codify how your brand talks, looks, and behaves, and then automate repeatable steps.
It includes voice guidelines, visual identity, content workflows, and channel execution. With the right setup, you produce on-brand assets in minutes.
This guide walks you through a simple, four-phase plan with clear steps, practical tips, and a list of tools that help you ship faster with fewer errors.
You’ll learn what automated branding covers, how to set it up, and how to measure impact and refine your system over time.
Key Takeaways
- Automation protects brand consistency and reduces labor on repetitive work.
- A staged rollout lowers risk. Start with foundations, then layer content, engagement, and optimization.
- Templates, brand tokens, and approval rules keep teams aligned across channels.
- Data closes the loop. Track what people see, say, and do, then refine your system.
- The best stack centralizes voice, visuals, and scheduling to cut handoffs and confusion.
Phase 1: Foundation (Days 1–7)
Step 1: Define Brand Strategy
Before you automate anything, set the rules. A simple, usable brand strategy fits on one page and answers why you exist, who you serve, and how you show up.
- Clarify your positioning and value promise. Keep it specific and testable.
- List your primary audience segments and the jobs they hire you to do.
- Write a plain‑English voice charter. Include tone sliders for formal vs casual and simple examples.
- Document three message pillars with proof points and examples.
- Set guardrails for claims, compliance notes, and restricted phrases.
Because automation repeats patterns, bad inputs scale fast. Therefore, invest time in clean definitions. Additionally, decide who owns these documents and how often you will review them. A quarterly review cadence works for most teams.
Step 2: Create Visual Identity
Your visual system must be clear and tokenized so tools can reuse it. Define a logo system, not just a single file.
- Save primary, secondary, and icon marks. Add minimum sizes and safe‑area rules.
- Specify color variables with hex and accessibility contrast ratios.
- Establish type styles for headings, subheads, and body copy.
- Build motion and layout rules if video and stories matter to your channel mix.
You should also secure your assets and register marks as needed. U.S. trademark basics and filing steps are covered by the U.S. Patent and Trademark Office.
Step 3: Set Up Templates
Templates translate your strategy into repeatable parts.
- Start with high‑frequency items: social posts, emails, landing pages, sales one‑pagers, and ad variants.
- Create editable fields for offers, CTAs, and dates. Lock the rest.
- Consider a shared brand kit with logos, colors, and typography. Then enforce the kit through your design and publishing tools.
Some platforms, such as Stryng, can carry voice rules and design tokens directly into publishing. Tools like Canva or Figma excel at design, though they often need extra steps to hand assets off to marketing systems.
Phase 2: Content & Voice (Weeks 2–3)
Step 1: Automate Content Creation
Now map your message pillars to content formats.
Long form drives depth. Short form drives frequency. Both need voice control.
Create reusable prompts that reference your voice sliders and proof points, and store them with examples.
AI tools like Stryng can learn your brand voice from a small sample and apply it to product pages, emails, and social captions. ChatGPT or Jasper are also effective for drafting content at speed. They offer versatility, though they usually need more manual tuning to stay fully on-brand.
To improve reliability, use few‑shot examples and negative instructions that block banned claims.
Step 2: Automate Visual Content
Your design tokens should flow into dynamic templates for stories, reels, ads, and product posts.
- Set up templates with constraints for logo placement, padding, and color use.
- Generate sizes for each network to cut manual work.
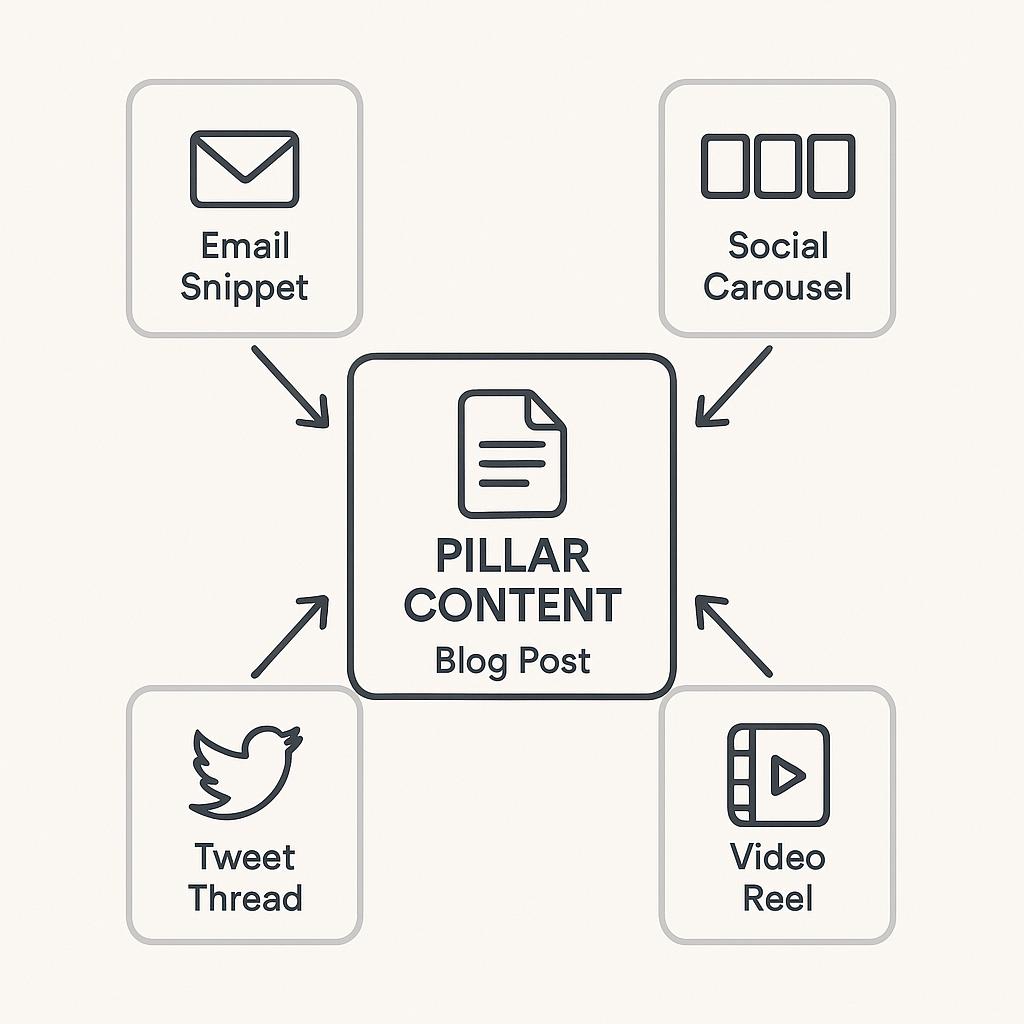
- Turn articles into carousels, snippets, or threads with a clear transformation recipe.
- Create version names that include the offer, audience, and date.
Because platform usage varies by age group and region, it helps to confirm where your audience spends time. Updated social platform adoption trends can inform your mix.
Step 3: Create an Editorial Calendar
A smart calendar balances search intent, authority building, and campaign priorities.
Map themes to weeks, then assign formats to each theme. The well known pillar‑cluster method helps you build topical depth and internal linking.
Use an AI content calendar to plan frequency, channel owners, and deadlines. Automation can tag each item with persona, journey stage, and call to action. That metadata later feeds measurement and A/B tests.
As you plan, align with Google’s view of helpful content. It rewards people‑first pages with real expertise and clear purpose.
Phase 3: Engagement & Communication (Weeks 4–6)
Step 1: Automate Customer Engagement
Engagement automation covers chat, comments, and surveys.
- Build reply libraries for common questions and service issues.
- Add routing rules for VIPs and sensitive topics.
- Use triggers to escalate when sentiment turns negative or when purchase intent appears.
- Track the handoff quality. Measure first‑response time, resolution rate, and post‑interaction satisfaction.
People expect fast, honest answers with an easy path to a human. The Edelman Trust Barometer shows the link between clear communication and brand credibility across markets. Use that insight to design your flows so they inform first and sell second.
Step 2: Automate Email & CRM Branding
Email and CRM usually carry the heaviest volume, which makes them ideal for brand automation.
Create modules for headers, footers, product tiles, and testimonials.
Lock brand‑critical parts like logo sizes, color tokens, and legal text.
Then set workflow rules:
- If a lead views a pricing page twice in a week, send an offer email and alert sales.
- If a customer hits an NPS detractor score, initiate a recovery sequence from support.
- If a user completes onboarding, enroll them in an advocacy program with periodic tips.
Because inboxes are crowded, schedule tests on subject lines, from‑names, and preview text.

Phase 4: Optimization & Scaling (Ongoing)
Step 1: Track Brand Performance
You cannot improve what you do not measure.
Track brand consistency, reach, and conversion with a single source of truth. Set up a dashboard that blends web analytics, social performance, CRM data, and surveys.
Key metrics to watch:
- Branded search queries and direct traffic
- Social share of voice and positive vs negative sentiment
- Email click‑to‑open rate and unsubscribe reasons
- Creative reuse rate across markets and teams
Tie everything to outcomes like revenue, retention, and referral. For instrumenting web and campaign events, start with Google Analytics and connect to Looker Studio so you can build readable dashboards for stakeholders.
Step 2: Refine with Data
Improvement starts with weekly reviews.
Compare versions, isolate variables, and shift budgets toward winning combinations. Always record test hypotheses and results, since that archive fuels smarter creative in future cycles.
As you scale content, search quality becomes crucial. Keep factual accuracy high and avoid thin or repetitive pages that confuse people and search engines.
If you publish with AI assistance, be mindful of crawling and indexing risks.
Finally, partner with legal and compliance early. Create a short rulebook for claims, disclosures, and regulated terms. Then encode those rules into your templates and prompts.
Step 3: Scale Automation
Scaling automation means packaging your playbook so new teams can run it without speculation.
Create an onboarding kit with your strategy, tokens, templates, and workflow diagrams.
Add examples of correct and incorrect executions to speed up learning.
A few tools can help you centralize work. Choose based on your team’s size, skills, and channels.
Here is a simple comparison to guide your stack selection:
| Tool | Best for | Standout feature | Common limitation |
|---|---|---|---|
| Stryng | End‑to‑end brand automation | Voice + design tokens carried into publishing | Fewer third‑party plugins than broad app stores |
| Canva | Rapid design creation | Easy templates and quick resizing | Requires manual QA for channel‑specific rules |
| Hootsuite | Social scheduling at scale | Team permissions and reporting | Creative and voice rules live outside the tool |
| Zapier | Workflow connections | Links many apps without code | Rules can sprawl without governance |
| Mailchimp | Email marketing | Templates and audience tools | Limited brand voice enforcement across channels |
As you expand to regions or product lines, set a shared approval workflow. Define who can publish, who must review, and what exceptions exist. That single rule prevents surprise posts and keeps your brand steady at higher volume.
Summary
You now have a clear plan to set up automated branding without losing control of your message.
- Start with strategy and tokens
- Layer templates, content engines, and engagement flows
- Measure what matters, refine with data, and scale with a sensible stack
- Keep the system light
- Update quarterly, retire unused templates, and keep a small library of great examples.
With a calm process and the right tools, your brand will feel consistent, timely, and human across every channel.
Frequently Asked Questions
Q1: How is automated branding different from general marketing automation?
A: Brand automation focuses on voice, visuals, and consistency rules, while general marketing automation handles triggers, segmentation, and send logic.
Q2: Do AI branding tools replace designers and writers?
A: No. They accelerate drafts and resize assets, but human judgment still sets strategy, tone, and creative direction.
Q3: What should you automate first?
A: Start with high‑volume items like social posts and email modules because small time savings there add up quickly.
Q4: How do you keep brand automation from feeling robotic?
A: Use voice sliders, human examples, and a final human edit so tone stays natural and context aware.
Q5: Does automated branding help SEO?
A: Indirectly. Faster production and tighter consistency improve coverage and internal linking, but quality and relevance still drive rankings.
Q6: Which metrics prove that brand automation works?
A: Look at asset reuse rate, time to publish, error rate, and engagement changes by channel, then tie results to revenue and retention.
Q7: What are the risks with brand automation?
A: Over‑templatized content, off‑brand replies, and compliance gaps. Governance, training, and review checkpoints reduce those risks.